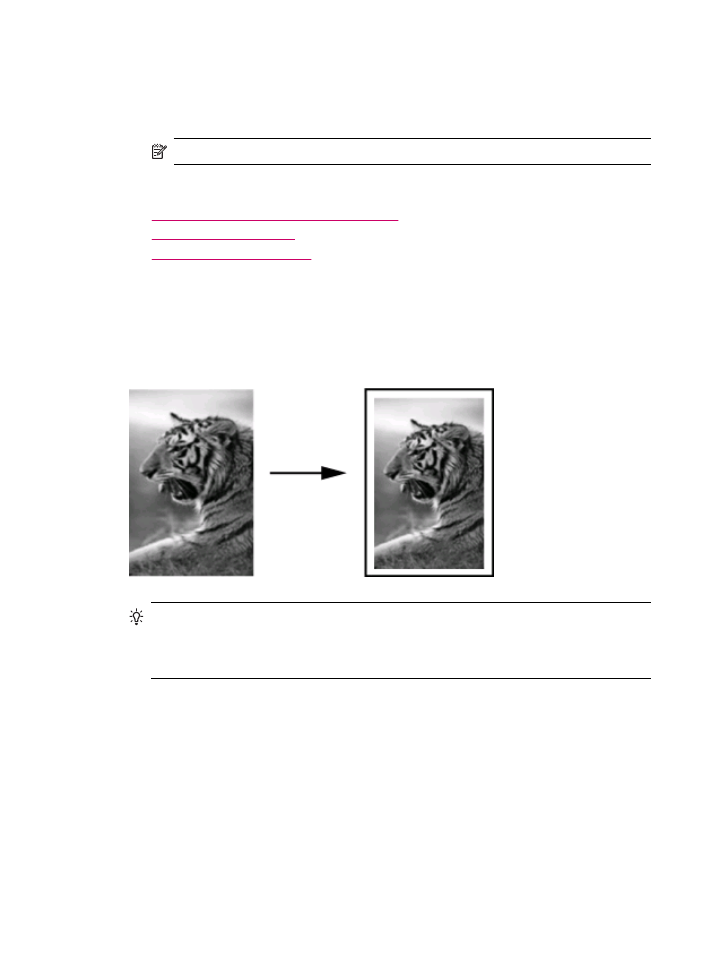
Resize an original to fit onto letter or A4 paper
If the image or text on your original fills the entire sheet with no margins, use Fit to
Page or Full Page 91% to reduce your original and prevent unwanted cropping of the
text or images at the edges of the sheet.
TIP:
You can also use Fit to Page to enlarge a small photo to fit within the printable
area of a full-size page. In order to do this without changing the proportions of the
original or cropping the edges, the HP All-in-One might leave an uneven amount of
white space around the edges of the paper.
To resize a document from the control panel
1.
Make sure you have paper loaded in the input tray.
2.
Load your original print side down on the right front corner of the glass or print side
up in the document feeder tray.
If you use the document feeder tray, place the pages so that the top edge of the
document goes in first.
3.
In the Copy area, press the Reduce/Enlarge button.
Resize an original to fit onto letter or A4 paper
79

4.
Do one of the following:
•
If you loaded your original in the document feeder tray or on the glass, press
until Full Page 91% appears.
•
If you loaded a full- or small-size original on the glass, press until Fit to Page
appears.
5.
Press Start Copy Black or Start Copy Color.
To resize a document from the HP Photosmart Studio (Mac) Software
1.
Make sure you have paper loaded in the input tray.
2.
Load your original.
3.
Select the HP Device Manager from the Dock.
The HP Device Manager window appears.
4.
In the Tasks area, double-click Make Copies.
The HP Copy dialog box appears.
5.
In the Reduce-Enlarge area, select Fit to Page.
6.
Click Black Copy or Color Copy.